How to Change a Bolt-Hole Castor (and Why Regular Maintenance Matters)
")
Posted by Kelly Hall on 4th Feb 2026
Bolt-hole castors are found on a number of our trolleys. Over time, these castors wear out, seize, or become unsafe—affecting mobility, stability, and even workplace safety.
Replacing a bolt-hole castor is a straightforward task, but it’s also a good reminder of why routine service and maintenance should never be overlooked.
What Is a Bolt-Hole Castor?
A bolt-hole castor is a type of wheel assembly that mounts to equipment using a single central bolt. Unlike plate-mounted castors, bolt-hole castors are compact and commonly used where space is limited or where the load is lighter and more controlled.
Despite their simple design, they play a critical role in:
- Load movement
- Equipment stability
- Floor protection
- Operator safety
An Expander Bolt is used on our Bolt Hole Castors which attach the castor to the tube or square frame. The threaded stem is fitted into the hollow frame and then the expander widens to fill the void and secure firmly against the wall of the steel to secure the castor.
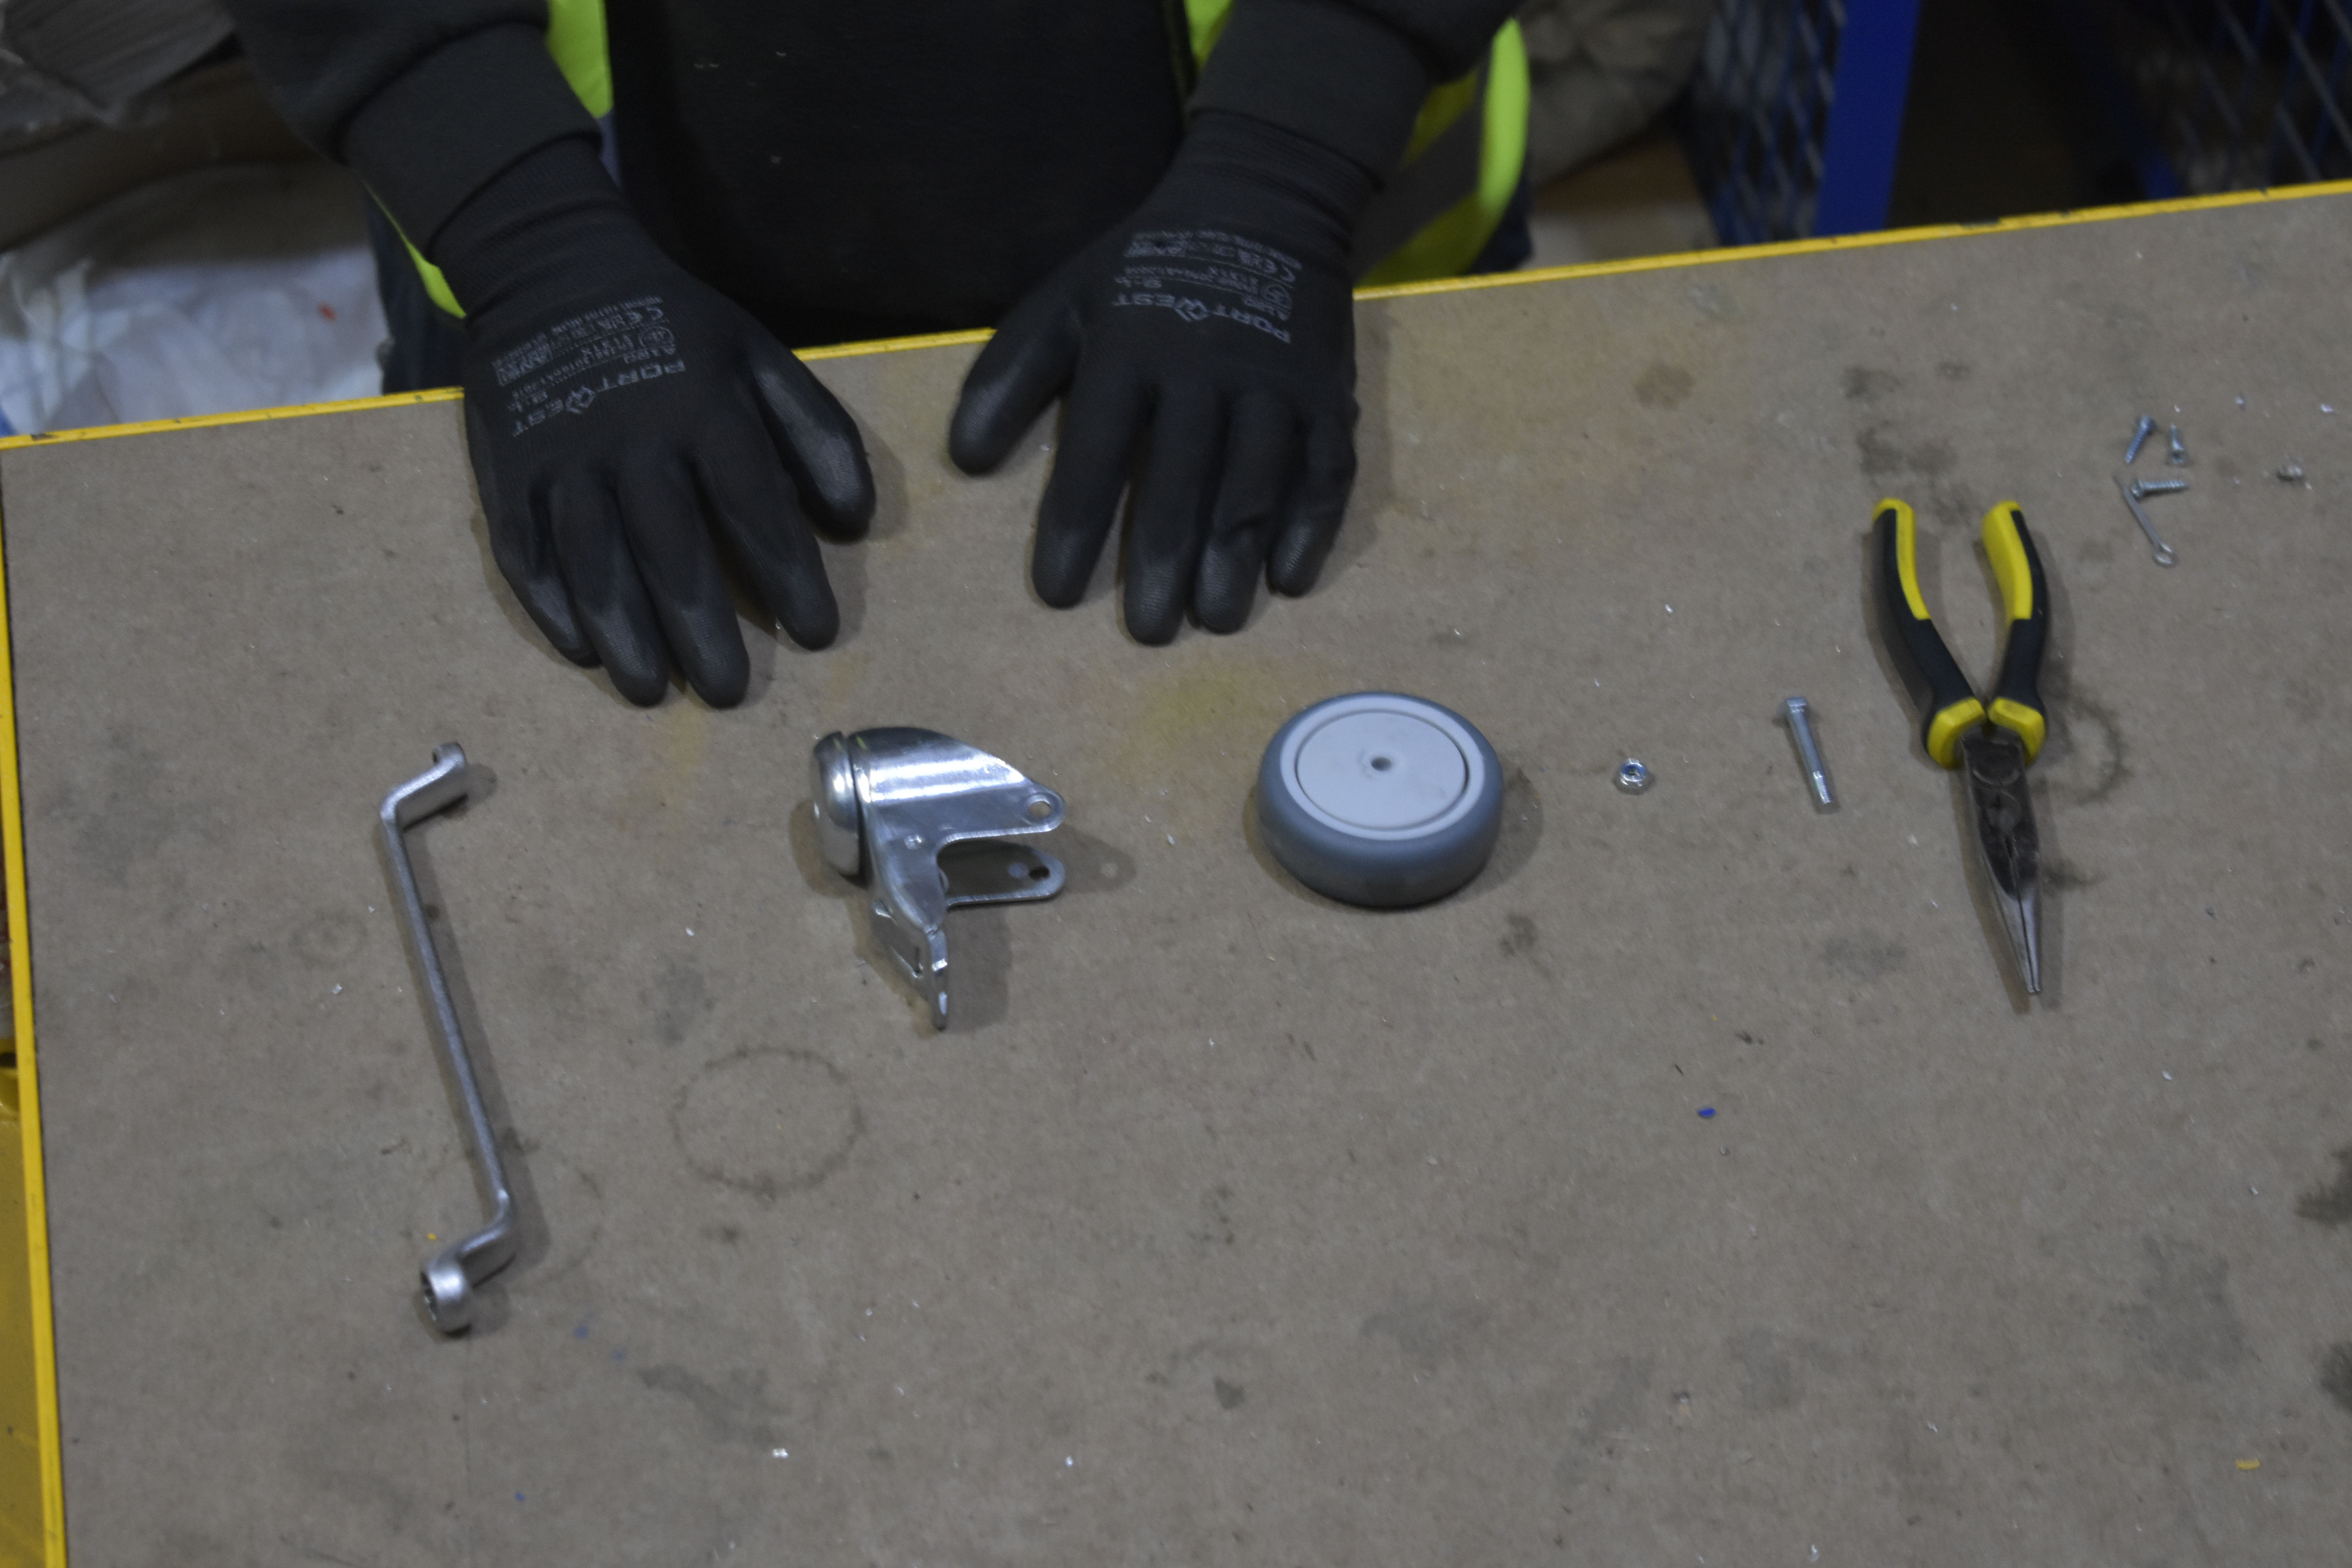
Tools and Materials You’ll Need
- Replacement bolt-hole castor (correct size and load rating)
- Spanner or socket wrench (matching the bolt size)
- Appropriate PPE
Step-by-Step: How to Change a Bolt-Hole Castor
- Make the Area Safe
Ensure the equipment is empty and on a flat surface, ideally flat on the ground with the wheels up. Changing wheels should not be completed by jacking up the replacement corner.
- Remove the Old Castor
Using your spanner or allen key, loosen and remove the central bolt holding the castor in place. If the bolt is stiff or corroded, apply penetrating oil and allow it to soak.
Inspect the mounting hole for:
- Wear or elongation
- Rust or debris
- Cracks or deformation
These signs can indicate deeper maintenance issues.
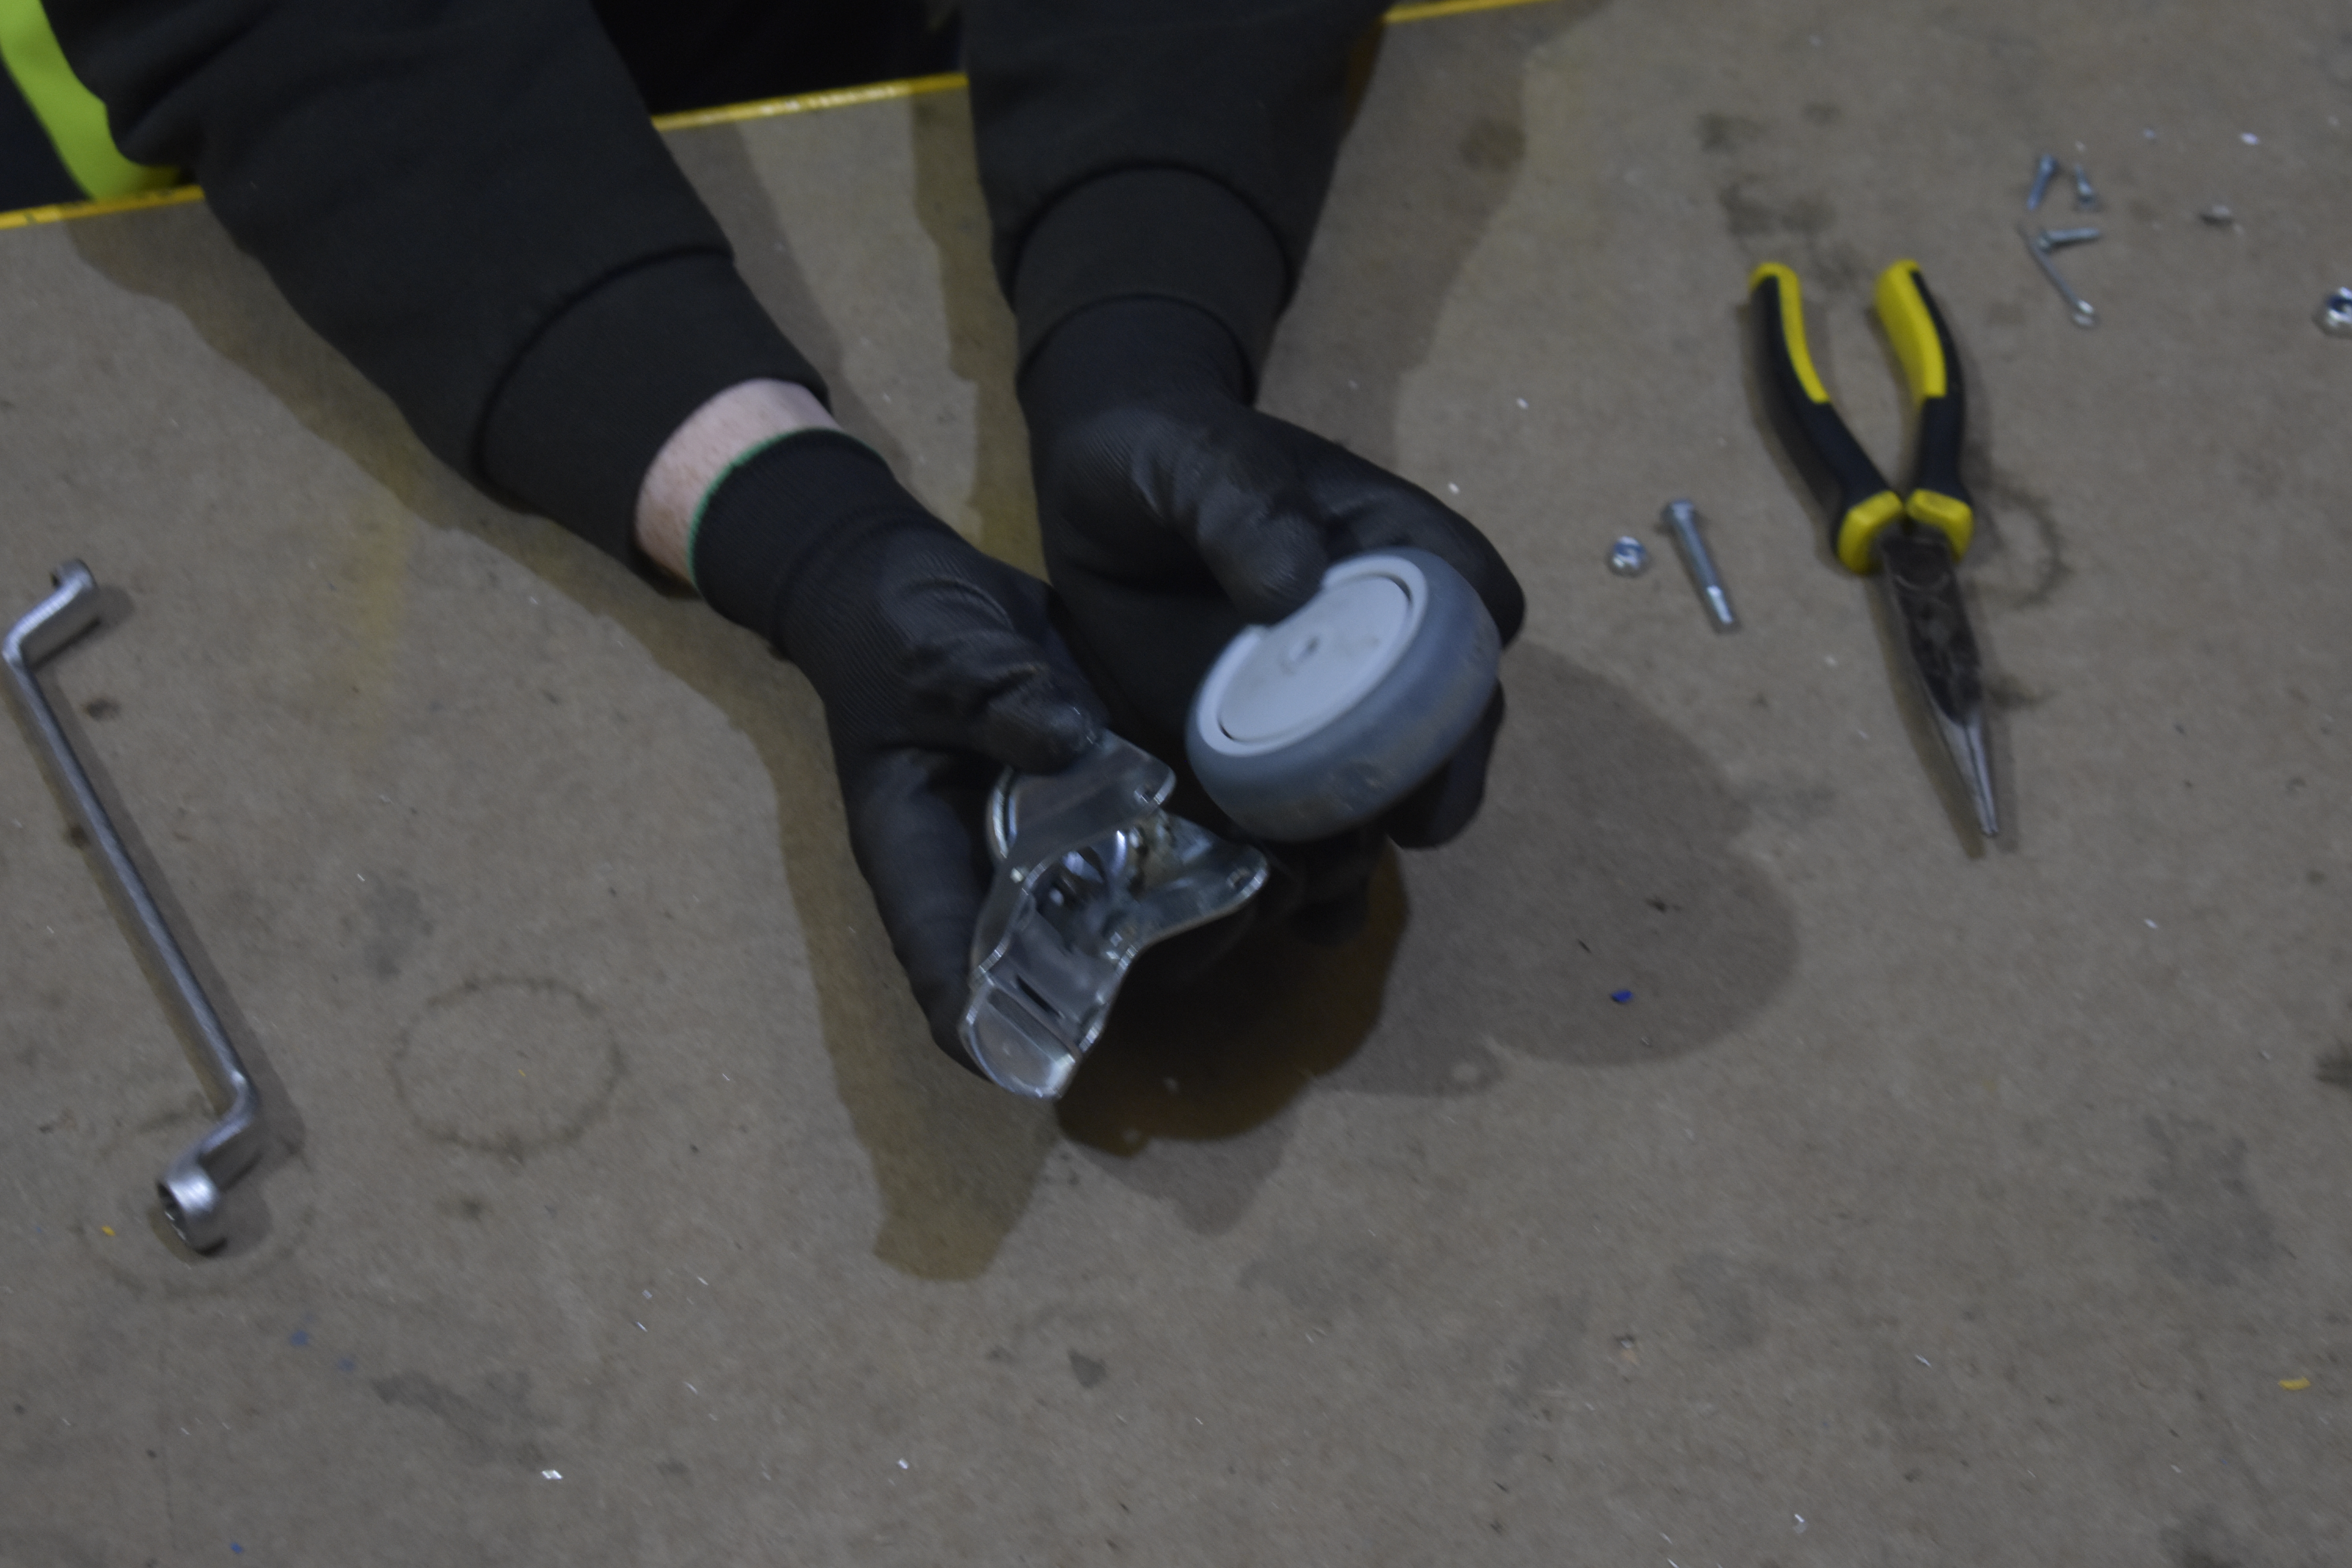
- Install the New Castor
Insert the new castor’s stem or bolt into the mounting hole. Apply a small amount of thread-locking compound, then tighten the bolt securely—but do not overtighten.
The castor should rotate freely without wobble.
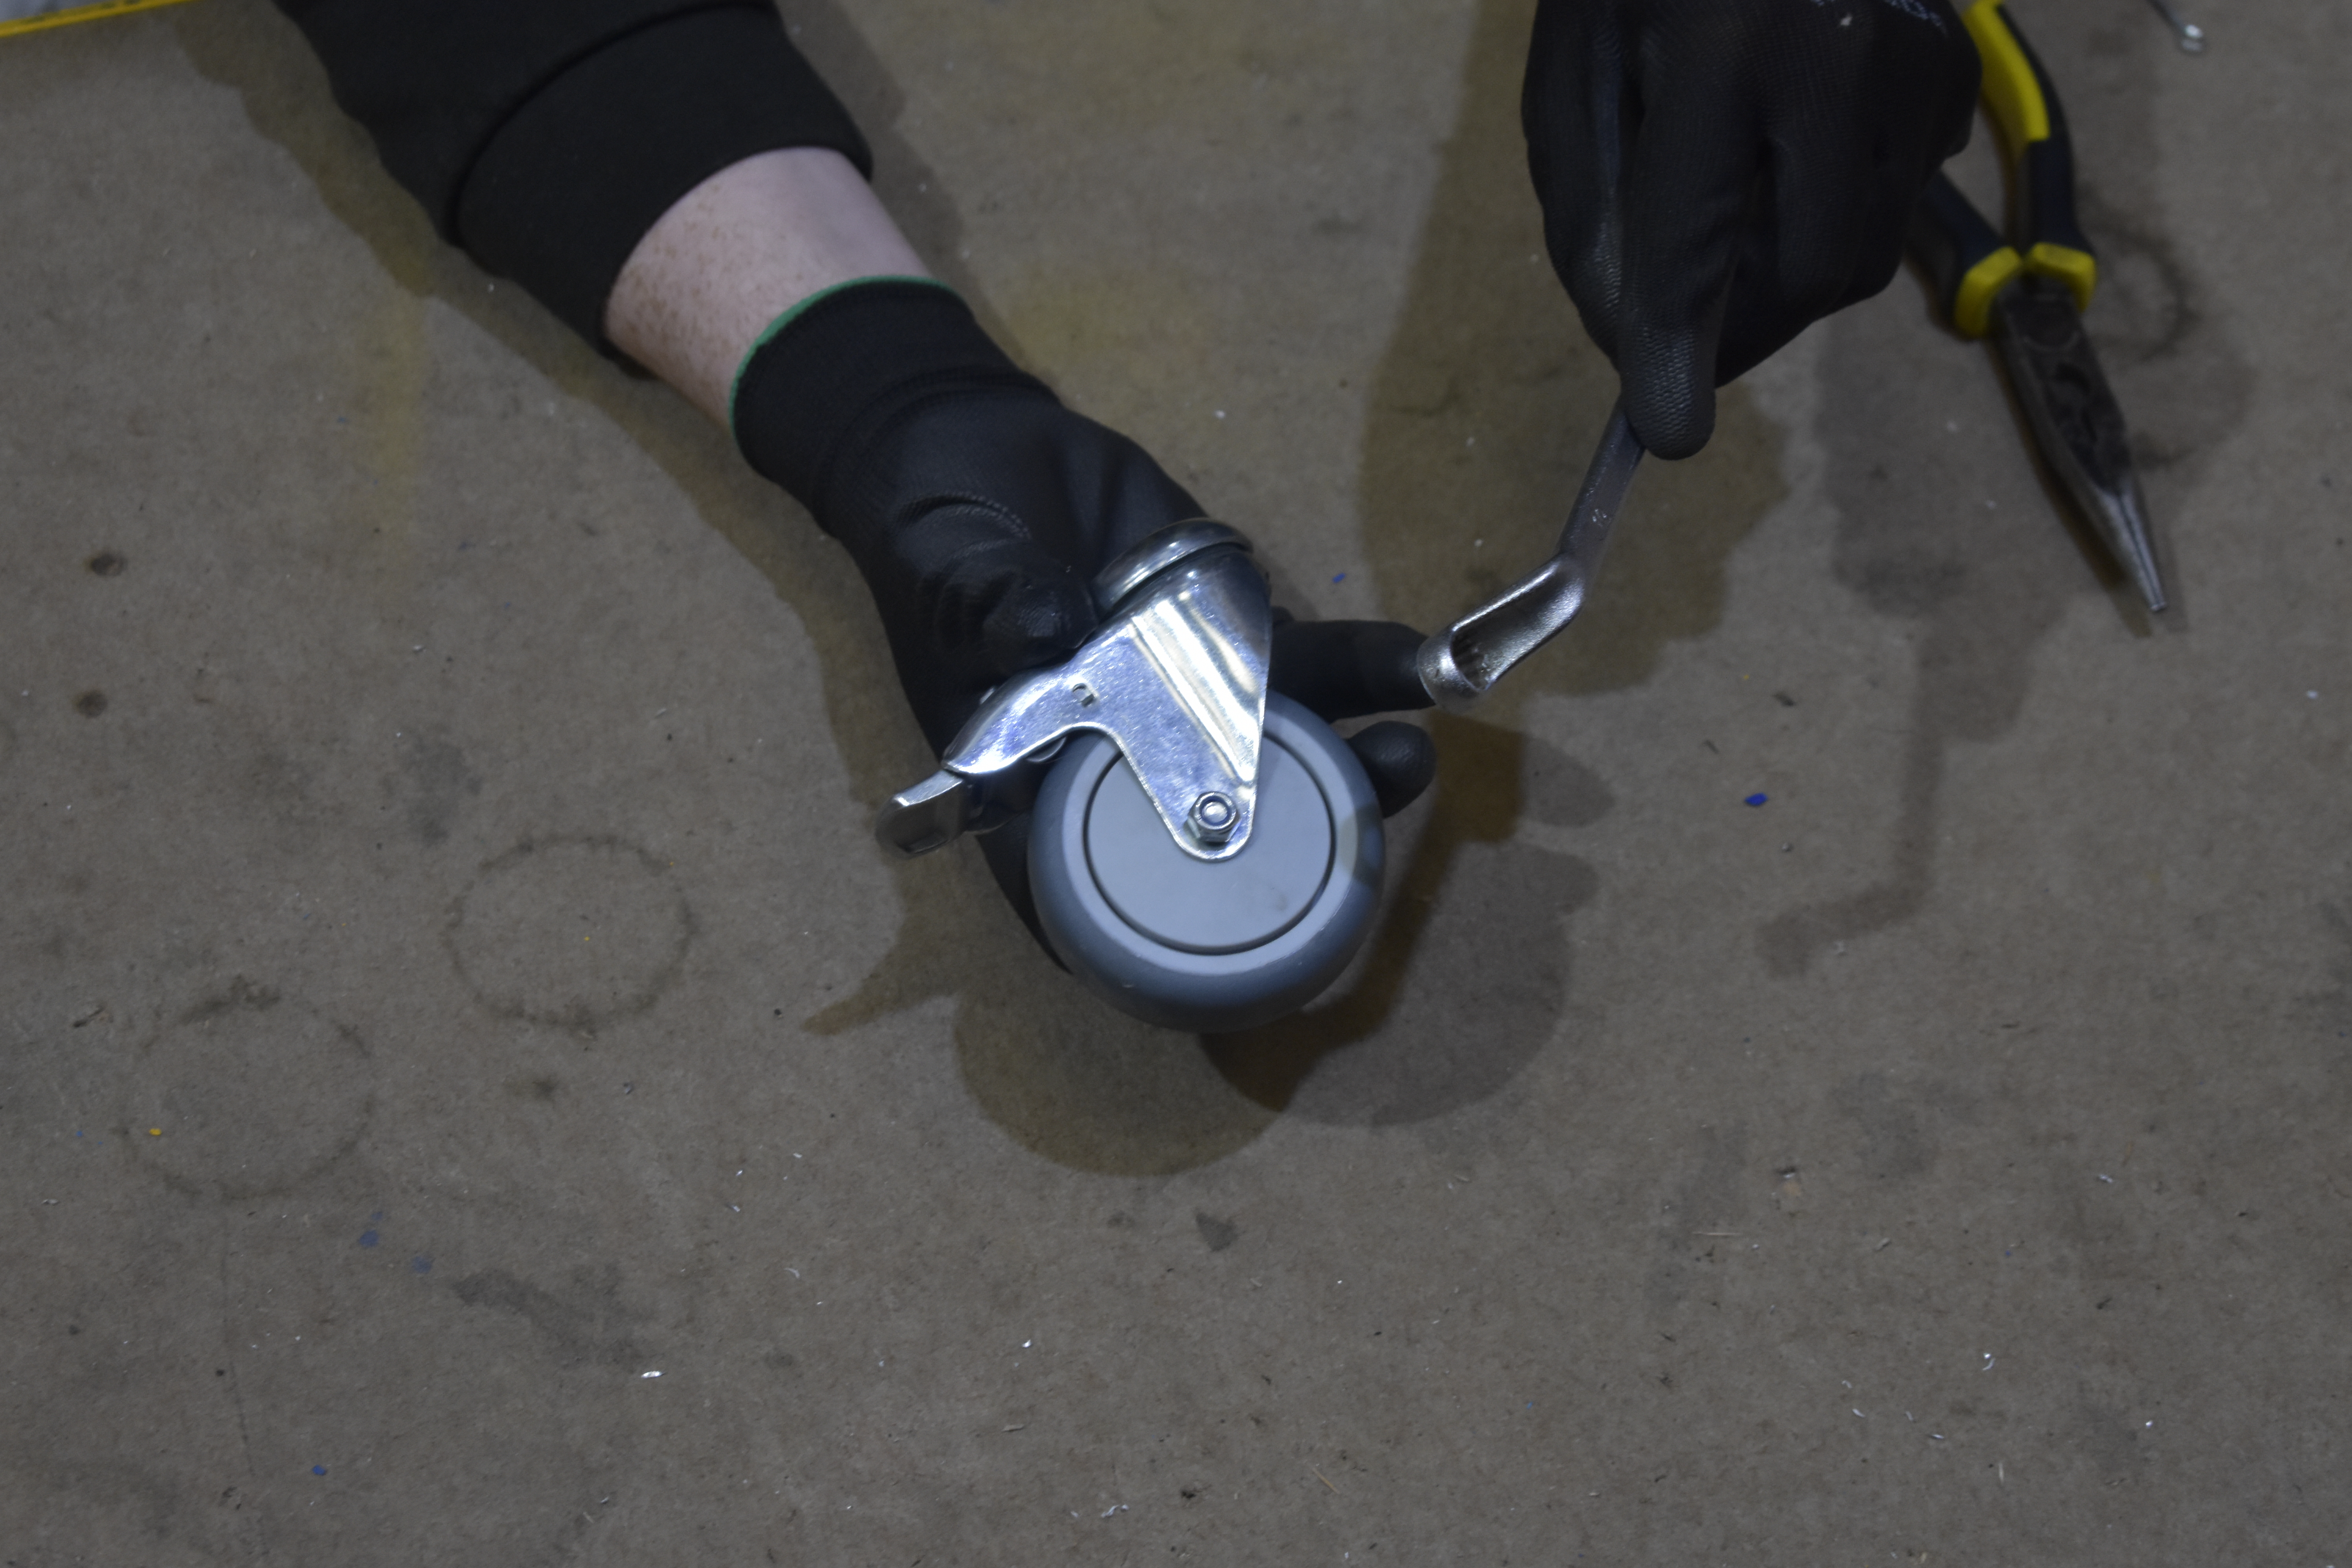
- Lower and Test
Carefully lower the equipment back onto the floor. Test the castor by rolling the unit and checking for smooth movement, proper alignment, and stability.
Why Service and Maintenance Are So Important
Changing a castor isn’t just a repair—it’s part of a broader maintenance responsibility.
Regular inspection helps you:
- Prevent sudden equipment failure
- Reduce strain on operators
- Protect floors from damaged wheels
- Extend the life of trolleys
Neglected castors can lead to:
- Poor handling and instability
- Increased wear on frames and fixings
- Safety hazards and potential injuries
A simple routine—checking wheels for wear, tightening bolts, and replacing damaged castors early—can save time, money, and downtime.
Use our checklist to aid your workplace, Safety-Check-Sheet_Wheels.pdf
Maintenance Tips for Longer Castor Life
- Inspect castors weekly in high-use environments
- Clean debris, hair and dirt from wheels
- Lubricate swivel bearings if applicable
- Replace castors in pairs when wear is uneven
- Always use castors with the correct load rating
Replacing a bolt-hole castor is a quick and cost-effective task, but its impact is significant. Proper service and regular maintenance ensure smoother operation, safer workplaces, and longer equipment life.
If it rolls, it needs attention—and a well-maintained castor keeps everything moving in the right direction.